Tuesday, May 31, 2011

Final project: (Re) collection of Objects: A Biographical-Toy


For this project, I made MR. Peanuts. When I was a child I did not like peanuts at all. To me peanuts were a nightmare until the age of 18. At that age I went to the super market one day and saw a lot of peanuts they were in a special offer. And because of that a big number of peanuts  were organized very neat. I was looking then I thought of the number of people who are fans of peanuts . I grabbed a bottle of peanuts and decided to try it at home. When I tried it I fill in live with MR. Peanuts.
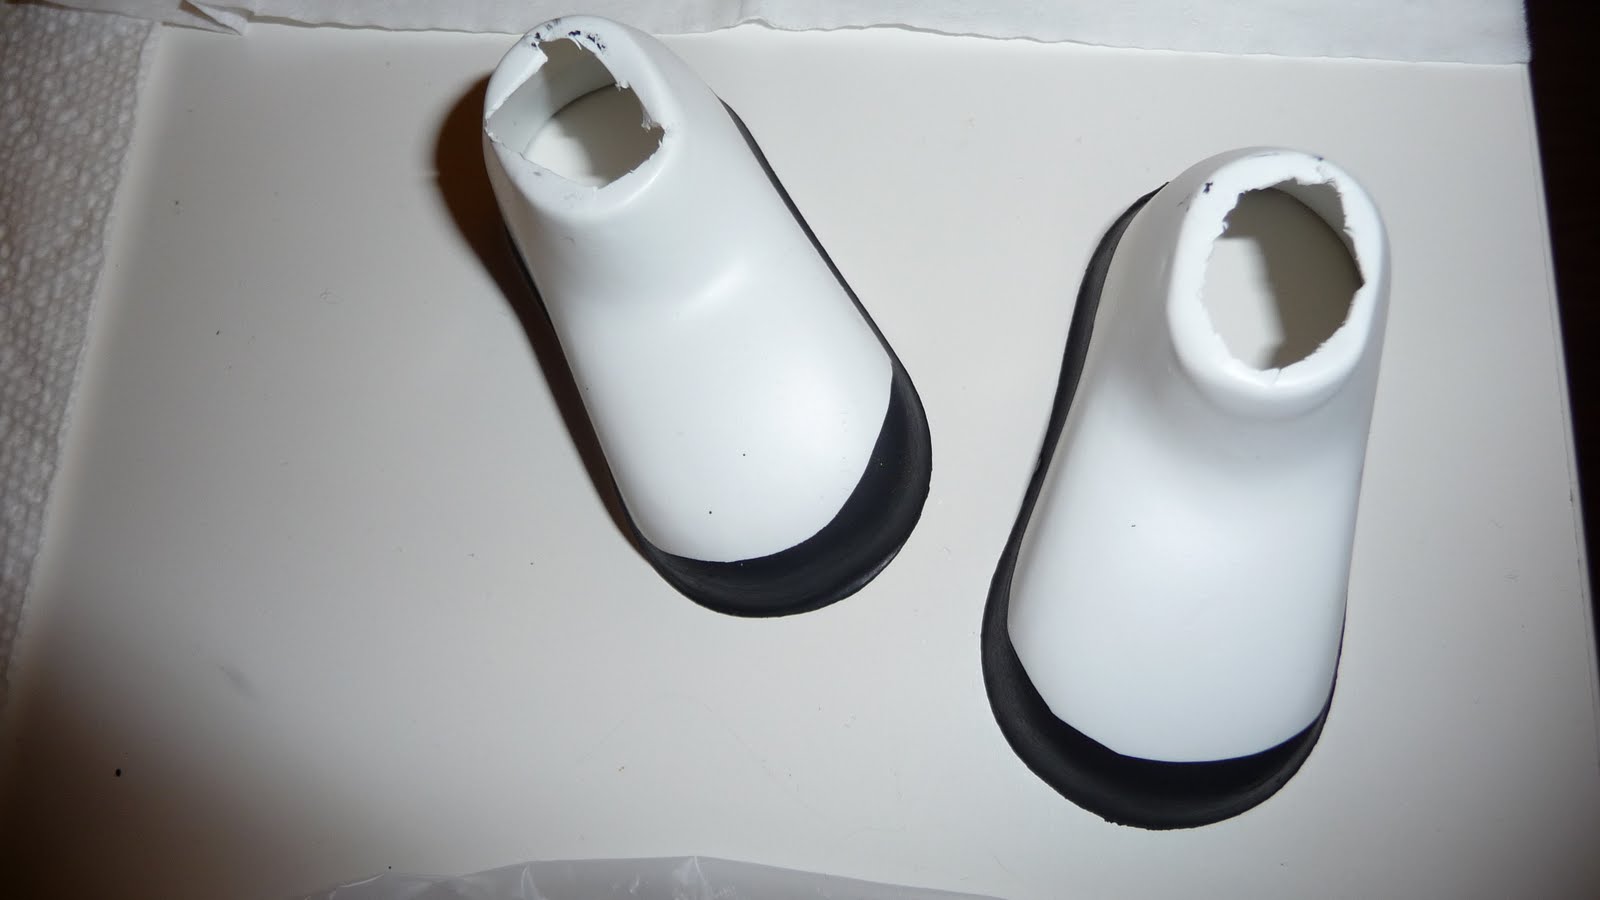
For the body I took a sock then stuffed and color it. I used water color papere for the hat, gloves and legs. I also made his foot from my son’s socks supporter. Not just that I used his bottle cover to create the glasses. Both arms were created from a newspaper. Finally, I cleaned up my Mr. Peanuts finishing and used colors to make it stands out more. I really enjoyed this project as I never thought of creating a toy from a recyclable materials. Eventually, my toy's looking ended nice and neat.


Tuesday, May 17, 2011

Project: polyhedrral structures B

In this project  I again used polyhedral but this time to create a wall structure . I used water color paper to create the Star Pyramids shape for my structure . I made all my stars in one shape and size . Also I painted my stars with metal blue color, light blue and metal silver to give my structure a cool scheme . I hanged all stares with a clear wire and in deferent heights to and put them all together in one base hanged on  the wall with showing the background to create a sort of a negative space and to give my structure a cohesive look.


Monday, May 16, 2011

Project : polyhedral structures A .


The purpose of this project is to apply polyhedral structures using additive methods to create a MASK .  I decided to choose a glob shape structure for my mask and then I thought of creating an animal mask . I was so inspired with my son’s clothes which has a lot of animals drawing on and bright colors . I picked a lion  and choose warm colors to build my polyhedral with such as yellow, orange and red. After the mask was done I decided to determine the lions face . I drew the eyes and the ear in a blank paper and pasted it in the face structure. I also did draw the nose flat on the face because it was a part of the glob and the whole face was in 3D. I wanted my lion to look more realistic by adding the mustaches and folding the paper to create value to make his hair stands out more. Finally, I hanged the mask on the wall and took pictures .I was very satisfied with what I end up with . I really enjoyed this project .


Tuesday, April 12, 2011

project: serial plan studies .


The purpose of this project was to apply serial planes concepts
and the principles and elements of design to the creation of a
white foam board - 3D form using additive and subtractive methods. I choose my form to be free standing geometric 3D form.  I used reputation and cutting out  for all pieces . I tried as much as I could to avoid gluing and I did cut out  holes to hold the pieces together . The different scale of the edges and the positive and negative spaces helped in creating shadows. Cutting the foam was the most difficult part in this project othor than that I enjoyed working with the whit foam and I found that this project is more interesting than the book project because I was free to create different shapes and there were no red line for the height and width .


The purpose of this project was to apply serial planes concepts
and the principles and elements of design to the creation of a
white foam board - 3D form using additive and subtractive methods. I choose my form to be free standing geometric 3D form.  I used reputation and cutting out  for all pieces . I tried as much as I could to avoid gluing and I did cut out  holes to hold the pieces together . The different scale of the edges and the positive and negative spaces helped in creating shadows.